Installing the FaxPress Plus Administrator Client
The FaxPress Plus Administrator client includes FaxPress Plus, the client-based administration and fax transmission utility, as well as two additional administration tools, the Import Microsoft Exchange Users utility (see Importing Microsoft Exchange Users) and the FaxPress Plus Migration Wizard (see Importing Users with the Migration Wizard).
Install the Administrator Client on a workstation typically used for administrative purposes. Confirm the client PC meets these requirements:
| ■ | 300 MHz or higher AMD® or Intel® x86-class CPU |
| ■ | 64MB or more of RAM |
| ■ | 50MB free hard disk space |
| ■ | 10/100 BaseT Network Connection |
Additionally, please confirm the FaxPress Plus client for Administrators is installed on a workstation running the same network protocol, TCP/IP, as the the FaxPress Plus or FaxPress server.
The FaxPress Plus client does not support NCP (Novell Client Protocol).
To install the FaxPress Plus Administrator client, follow these steps:
| 1. | Close all Windows applications and log onto your desktop with Administrator privileges. |
| 2. | Place the FaxPress Plus CD in the workstation’s CD-ROM drive. If Autorun is enabled, the setup will launch automatically. If Autorun is not enabled, browse the CD and run Autorun.exe. |
| 3. | If you are re-installing the FaxPress Plus software, the FaxPress Plus Setup will require you to uninstall the existing FaxPress Plus Client. Or, you can choose to install a FaxPress Plus Email Gateway at this time. Otherwise, skip to the next step. |
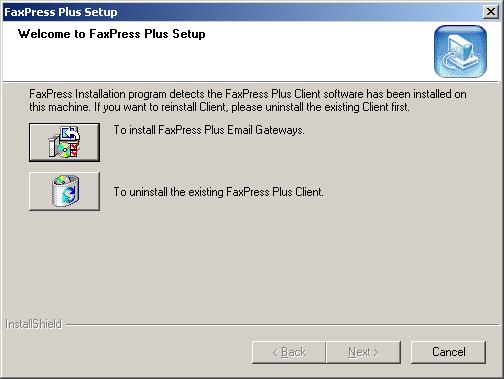
| 4. | The Welcome screen requires you to click Next>. |

| 5. | Select the Administrator Installation button. |

| 6. | To install the Administrator Client, click Install FaxPress Plus Client for Administrators. |

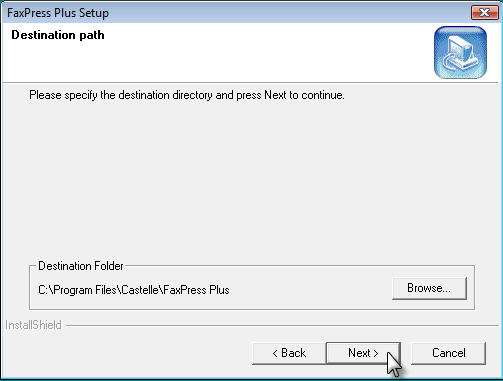
| 7. | The Destination Path screen requires you to approve the default installation directory, or Browse to a new one. Press Next> once the default installation directory has been selected. |
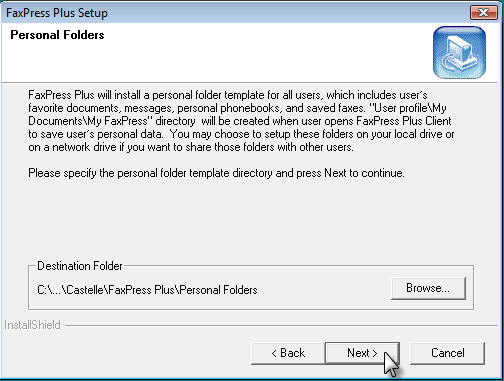
| 8. | Use the Personal Folders screen to select a directory for the personal folders template. Specify the personal folders directory on your local drive or on a network drive if you want to share those folders with other users. Change the location of your personal folders at any time through the Personal Preferences Options in FaxPress Plus. Press Next> once the Personal Folders directory has been selected. |
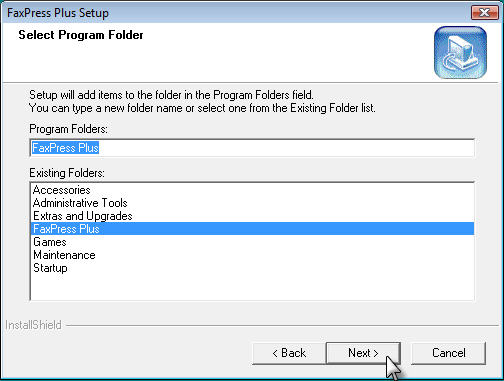
| 9. | Select Program Folder screen displays the default program folder for the client files. Click Next>. |
| 10. | If you’re running Crystal Report, first make sure the version you’re using is compatible with the FaxPress Plus Crystal Report version, then click Yes. If your version of Crystal Report is not compatible with the FaxPress Plus version, click No. If Crystal Report is not installed, click Yes to install and use FaxPress Plus Fax Report. |

| 11. | To use FaxPress Plus client immediately, select Finish. Depending on which files were added, replaced or modified during installation, you might be required to restart the workstation before using the FaxPress Plus administrator client. If prompted, press Restart. |
|
FaxPress Enterprise & Enterprise Redundant WebHelp
Last Updated: 11/1/2007
E-mail this page |
Castelle 855 Jarvis Drive, Suite 100 Morgan Hill, CA 95037 Toll-free 800.289.7555 Tel 408.852.8000 Fax 408.852.8100 |